With the Covid pandemic keeping me at home the majority of the day, I have been sinking a lot of time into creating
“the perfect homelab.” The bulk of my time is spent doing research and planning out which piece of hardware to purchase
next. One of my favorite activities when doing research is to browse for servers/components on classified adds and get upset
and the ridiculous prices people are asking for old and outdated block heaters. Recently I decided to search for the keyword
“supermicro” on one of these sites. Supermicro is my goto brand for custom home server simply because of its availability and
industry features. It also happens to be the brand of the first motherboard I used when building my first NAS back in 2012.
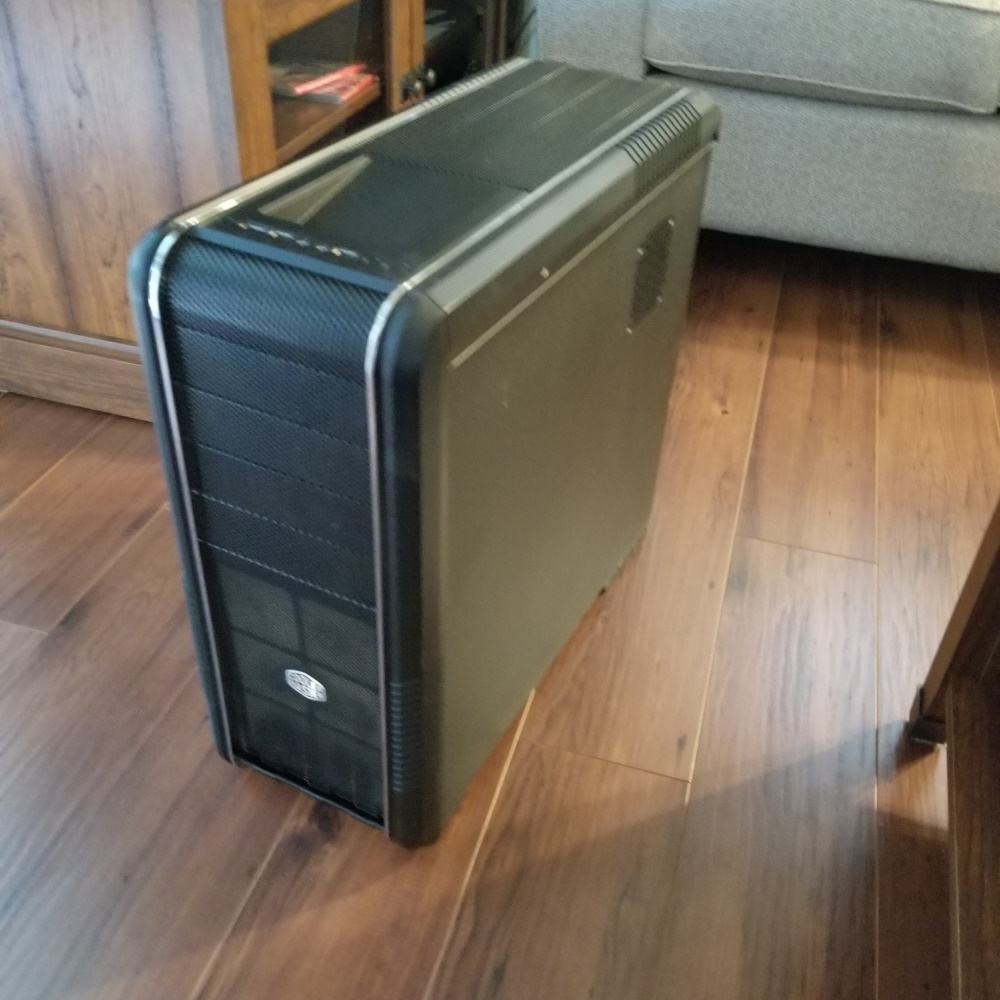
Getting back onto subject, I stumbled across a listing for a diskless NAS server with all the features my current NAS has
(AES hardware accelerated encryption, Error Correcting RAM/CPU and IPMI). So I purchase the machine and thus a new server
was added to my collection.
The Specs
| Part |
Description |
| Case |
CM 690 II |
| Processor |
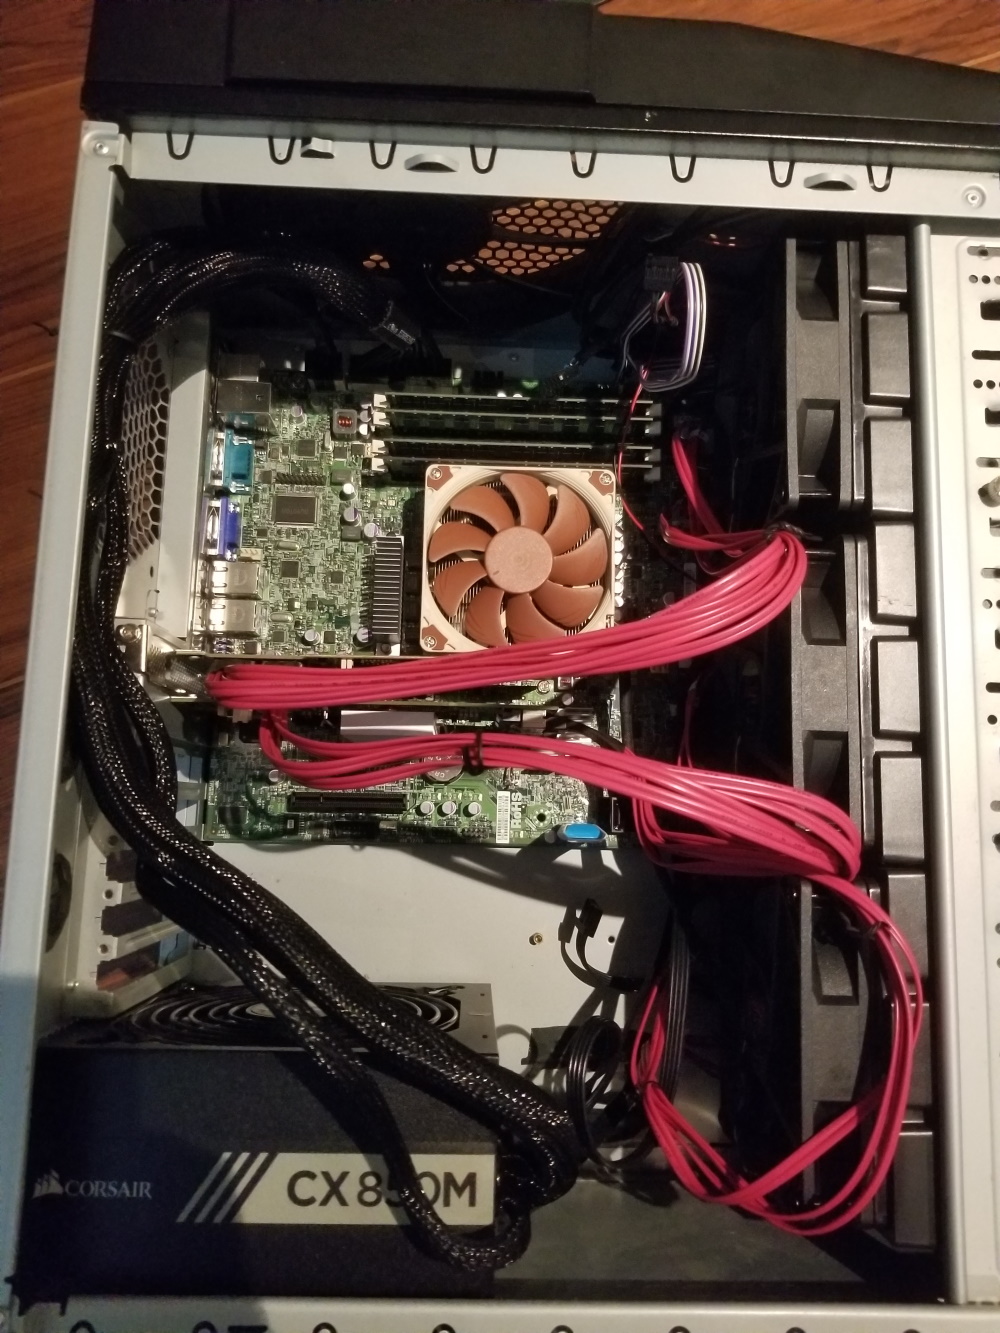
Intel i3-4130 @ 3.40GHz |
| RAM |
16 GB ECC Unbuffered DDR3 1600 |
| Motherboard |
SUPERMICRO X10SLM-F |
| LAN |
Dual Intel Gigabit |
| Controller |
DELL H310 |
| PSU |
SeaSonic 360W, Gold Certified |
Accessing the IPMI
The Intelligent Platform Management Interface (IPMI) is typically the first thing I want to get access to when setting
up a new server. This allows me to perform changes to the BIOS, boot from an ISO file and do hard start/stop/restarts
remotely. With the lack of a KVM, switch using a mouse & keyboard is not convenient or comfortable with my current
setup. The previous owner of this server mentioned the IPMI credentials have been changed and he did not remember what he had
set them to. So I went in with the mindset of using my DOS USB key with the IPMICFG.exe binary I had setup/downloaded
back in 2012.
Troubleshooting
When plugging in the USB key and hitting the power button, the computer failed to power on. With the
heartbeat LED on the motherboard blinking, I figured it was safe to assume it wasen’t an issue with the internal hardware.
My first guess was that the front pannels power button was broken. When try to short the power jumpers manually I
was shocked that the server still would not power on. I had already hooked up the network ports and noticed the IPMI LEDs
were blinking on my switch and motherboard. So I figured the issue was with the jumpers and perhaps I could power on the
system via the IPMI module. Lucky for me the MAC address for the IPMI port was written on the motherboard, so I plugged my
desktop into the same network switch in an attempt to get the IP address using arp -a. Once again no luck. Before I could
continue a buddie of mine called me and I mentioned the issue I ran into, he said perhaps the “power-on” pins on the PSU cable could
be faulty. Being the quickes thing to test, I disconnected all the PSU cables from the motherboard and jumped the power-on pins.
The PSU fan started, leaving me to still believe it was a fault with the jumper pins for the cases front pannel. After plugging
the PSU cables back into the motherboard and fliping the power switch the server started. It turns out the cables probably
came lose while driving it home. Leasson learned, next time a computer does not power-on try reseating the power cables first.
Reseting the IPMI module
Now that the server was running I could finally boot into DOS and reset the IPMI interface to factory defaults. First things
first I used the help flag, as it has been 8 years since I have used this tool, and got the current IP address of the IPMI module
using the following commands:
The IP address was static and out of my networks subnet. I also noticed that arp was set to off which explains why I could not
find the device using arp -a. So I ran the following commands to reset the chip to factory defaults, preventing me from
messing around with changing the admin password via the CLI. I also enabled DHCP removing the need for me to memorize
any IP address and to ensure there are no IP conflicts with other devices on the network.
IPMICFG -fd
IPMICFG -dhcp
IPMICFG -dhcp on
Eventually, when I can afford to add L2/L3 managed switches to my lab, all IPMI devices will be running on their own vlan.
Testing the Hardware

Now that I can remote into the servers console from the comfort of my office, I decided to begin my routine with any new server.
First off I ran Memtest86 to validate the RAM modules were working as expected. Since I will be using ZFS as the filesystem
faulty memory can lead to some pretty nasty issues. I also opted to run CPUstress to see how well the the CPUs thermals were
under load. To no suprise, the Intel-I3 in the system stayed at a cool 68C under heavy load for 30 minutes. Since I will using some older
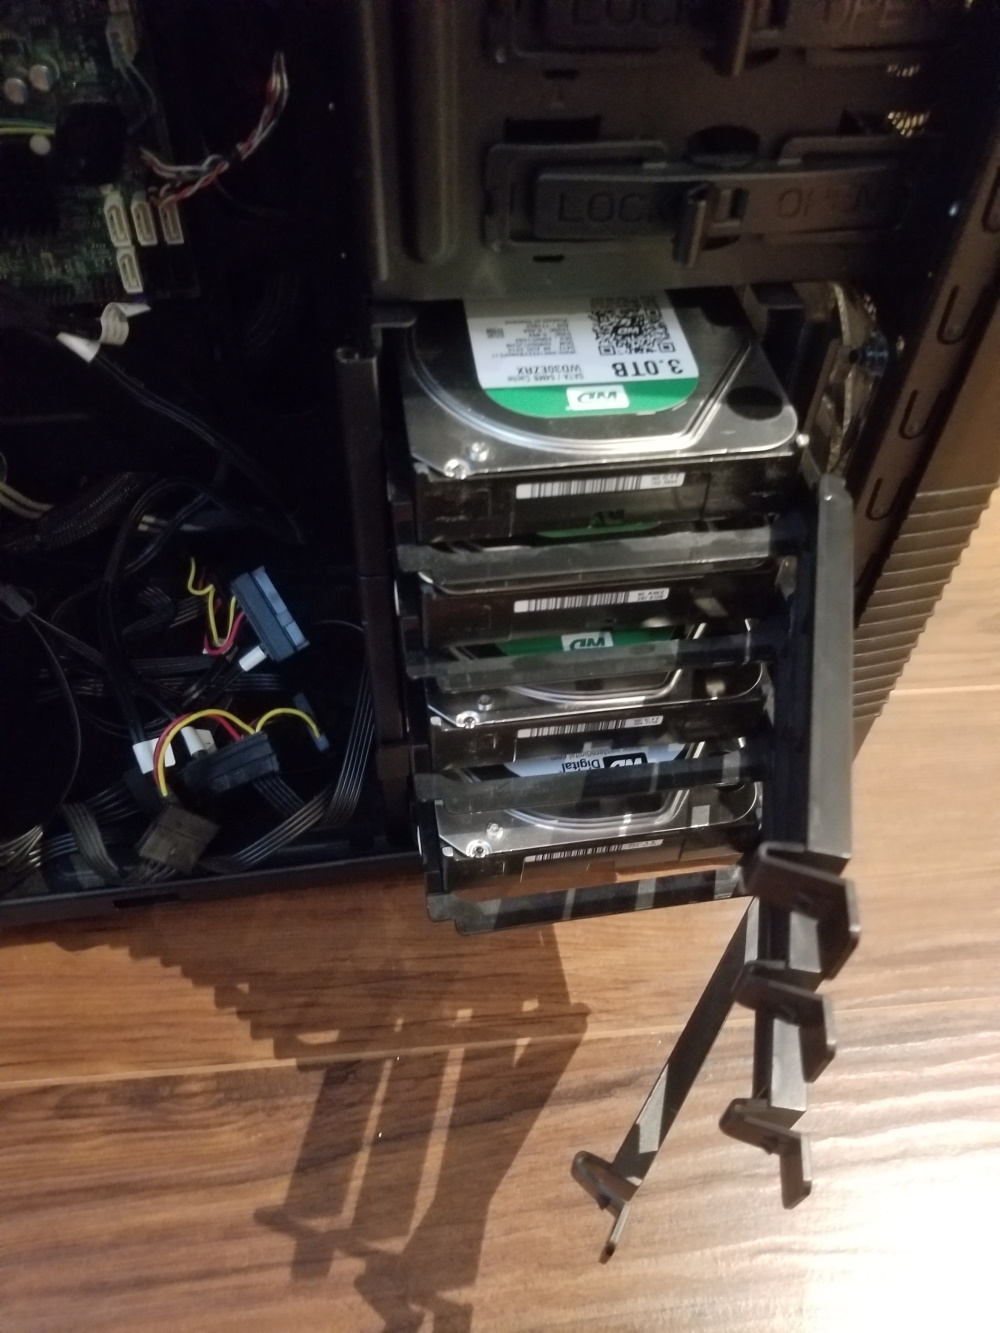
green drives from my main NAS, I can skip performing a hard driver burn in test.
I was finally ready to load up FreeNAS and import my ZFS array. This went by smoothly and took only a handful of click in the web
UI to complete. The server is ready to be setup as a backup for my main system.
Removing iSCUSI Nodes
One of the main use cases for my NAS is to provide storage to my hyporvisors VMs. This is achived using iSCUSI. Because I was consoledating
data from two ZFS pools into a single ZFS pool changes had to be made to my iSCUSI tagets. This lead some of my VMs to getting hungup trying
to connect to old targets. a simple ls /etc/iscsi/nodes gave me a list of all the ign’s my VM was trying to connect to at boot. Removing
them was as simple as running iscsiadm -m node -o delete -T <iqn> (source).
Consolidating Waisted Space
In my previous blog post I expanded my NAS with a DIY disk shelf. Now that 4 of my drives were being moved to the backup server, I decided
to merge my main NAS/disk shelf into one box.

I also opted to use both my IBM M1015 and Dell H310 raid controllers to connect all the drives. This was simply because I did not want to
remove any of the SAS cables from the drives bays as they were a real pain to work with.
Finishing Up
Setting up my main NAS to backup to the new system was once again more streigh forward than I had expected. From the Web UI I
setup a replication task and the wizzard took care of just about everything. Setting up an SSH key and finalizing the task took under
a minute. The only issues I ran into was with having a zvol/dataset with the same name in the target device. This did not allow the replication
task to begin. Fixing this was as easy as removing conflicting names and letting the replication task create the zvol/dataset on the target device.
In the future I hope to experiment with some HA options for read-only network storage using CARP once I bring pfSense into my ecosystem.